Part 3: How to Display Your Zillion Baby Photos
/Hi everyone! We’re back with our final installment of our photo series: How to Display Your Zillion Baby Photos. I’ve collaborated with professional (amazing!) kids and family photographer Jaye McLaughlin of The Life in Your Years Photography to tackle the harrowing topic of what to do with all those photos. Read on for my system and her professional tips.
But first: We have the winner of our Family Four Pack of Tickets to LEGOLAND Discovery Center at Ridge Hill in Yonkers. Watch to see if you won.
STEP 3: DISPLAY YOUR PHOTOS
When we last left off, we were sorting our photos into two projects: a slimmed-down Best of The Year highlights photo scrapbook, and 4x6 prints of everything else that’s good enough to print. But those aren’t the only options. Read on for some more ideas.
THE ALBUM OF PRINTS
Let’s start with the easy part. Now that you have loads of photos in your to-print album, you just need to upload them to a site (I prefer adoramapix.com), choose a size and finish (I like 4x6 luster finish, which is a type of matte), and head to a store or the web to purchase your blank photo albums. I use simple 4x6 sleeve albums from Amazon. I don’t try to fit everything in one book. Instead I buy matching albums that hold about 200 photos each for each kid for each year. Then you just have to load the prints in and you’re done. Adoramapix.com has a free option to label the back of the photo with the filename and/or date, which makes it easier to sort should your stack get knocked over by, say, an enthusiastic toddler.
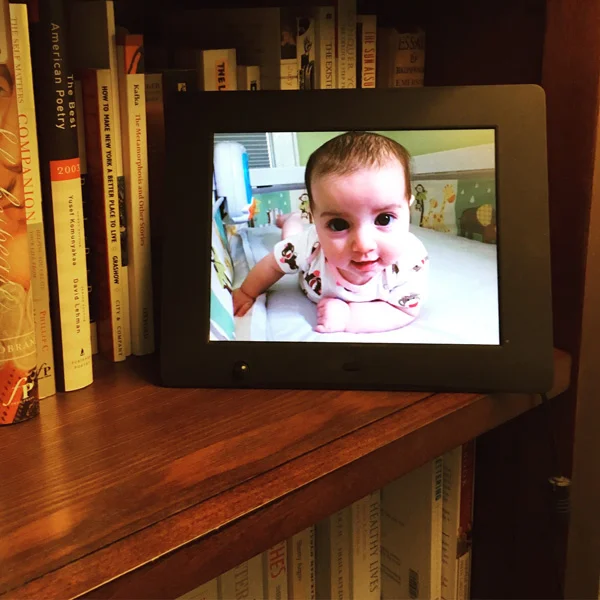
THE DIGITAL FRAME
Since you’ve gone through all that trouble to make a digital album of selects, why not upload them to a digital frame and enjoy your photos 24-7? There are several digital picture frames out there, but I like my Nixplay frame. It connects with WiFi and uses their website nixplay.com to access your photos from the most popular photo storage places, such as Google Photos or iPhoto. You can easily add files to an album on Nixplay and make a collage, controlling the transitions and rotation time. You can also buy a frame for grandma or grandpa and hook them up to the same account, so they can share in the fun. The best part is when you add new photos to your album, they come up across all your frames, whether in your home or at grandma’s house.
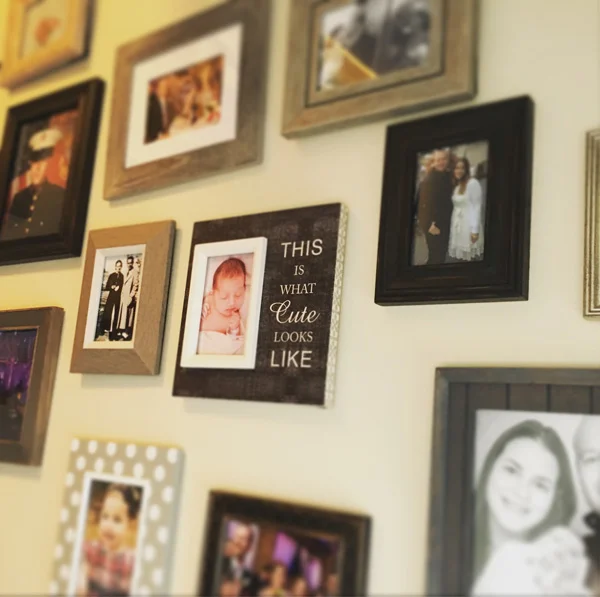
THE PHOTO WALL
My favorite way to display my best photos is a wall of framed snapshots in the house. But making one is easier said than done. Do it the right way, and it adds coziness and warmth to your home. Do it the wrong way, and it turns into College-Meets-IKEA decorating. Want tips to get it right? Check out our upcoming DIY Decorating Blog to find out.

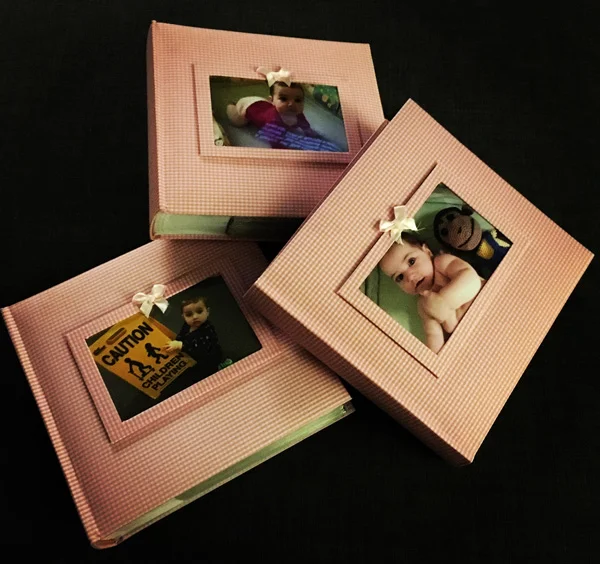
THE ANNUAL SCRAPBOOK
This will be your opus. These albums take a long time to make, so if you want it for the holiday season, you’ll need to get started this fall. I like to have mine done by Cyber Monday so I can take advantage of the sales and have them printed and delivered in time for Christmas.
If you followed our last post, you’ve taken the time to make that highly curated Best Of The Year album on your computer or in a service like Google Photos, so now is the time for all that hard work to pay off. Your impulse will be to dive right in and start uploading to the first photobook website you see, but take some time to browse around and find exactly what you want. I loved Adoramapix when I created my wedding album because it had classy extras like leather binding and metallic edges, but I found their templates were a bit too stuffy for a 1-year-old’s first scrapbook. I ended up using Shutterfly because I liked their baby theme templates. Jaye uses McGuire Storybooks for her professional photo books because their quality is top notch and Blurb.com for her annual family scrapbooks because she likes the ease of use.
Next, decide what size and shape you want the album to be. Do you need it to fit on a bookshelf, or should it be coffee-table size? Or perhaps you want it smaller to fit on a nightstand or in a child’s room. You can change your mind later, but it’s better to start with the exact template you want to avoid any issues from resizing. I learned the hard way when I went to change the size after I created last year's book, and some of the text on the pages got altered because it didn’t shrink quite to scale.
Once you have all that worked out and have chosen a template as a starting point, The next step is to upload your pictures to the scrapbook platform. BUT WAIT! Are your photos going to be uploaded chronologically? If they are on your computer in any other way, take the time now to reorder them or rename the files, whatever it takes to get them in the Shutterfly (or other service) holding spot in the correct order. If you don’t, it will take you twice as long to scroll through your collection trying to figure out what photo should come next. Got it set? Great! Upload away!
Now you’re ready to go, working within the template to place the photos into the pages, keeping in mind variety of layouts, page and frame colors, any captions you want to add, and any elements of art that you want to pop in to accent your pages.
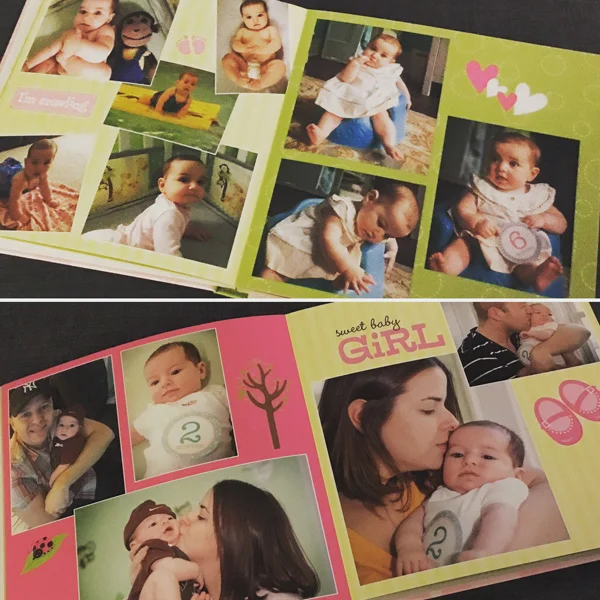
Sounds too easy? Full disclosure: I am a graphic designer by trade, so this is my jam. I’m in my zone using fun fonts, cute phrases, and combining elements from the template to make a supercute finished project. If you’re anything less than a career designer, you might want to heed Jaye’s pared-down approach. Here’s what she recommends for anyone who is intimidated by the task of laying out a scrapbook:
Designing the pages of your scrapbook is time consuming and overwhelming, but I’ve got some tips on how to get it done fairly painlessly.
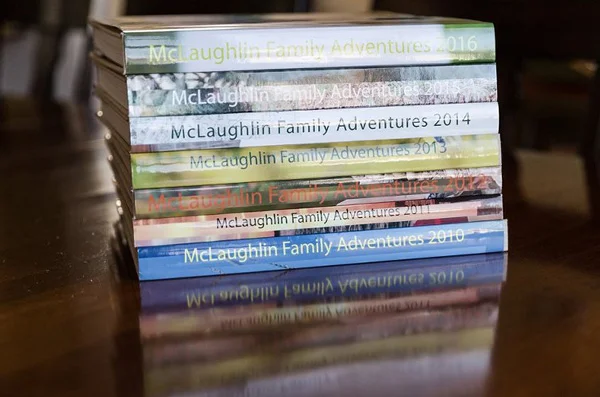
PHOTO BY JAYE MCLAUGHLIN
Keep it simple
I like to keep my family photo books classic so they will never go out of style. It might be fun to lay on the bells and whistles now, but you might not like fancy layouts and colorful photo frames in ten years. The bigger reason is that simple is just easier, and easier = more likely to get done. So my pages highlight my favorite photos on a white background.
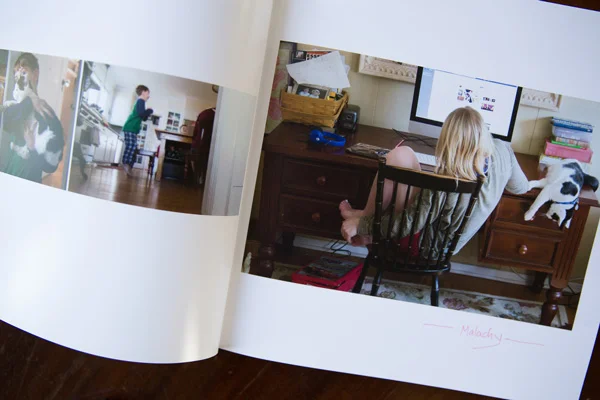
PHOTO BY JAYE MCLAUGHLIN
Keep it clean
Let’s face it, you want your favorite photos to be BIG, so that you can drink in every detail when you revisit the book again and again. I like to choose a “hero” shot for each spread and place it large on one side. On the other side, I include a few smaller, related images that complement the hero.
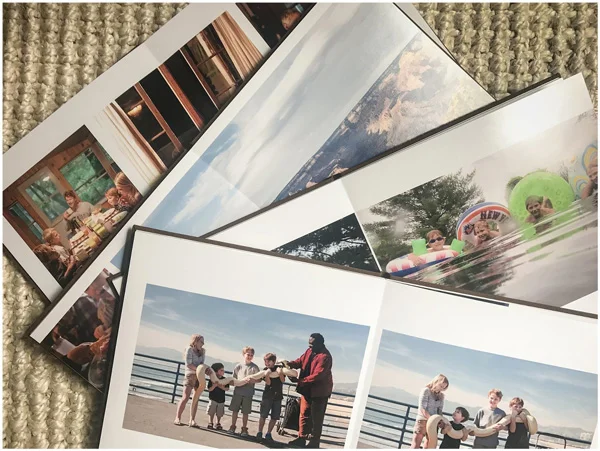
PHOTO BY JAYE MCLAUGHLIN
Don’t forget to tell the story
Don’t be so brutal in your culling process that you eliminate those little "in between" moments and details that tell the story of your life. A book full of photos of uniformly perfect smiles will be nice to look at, but it won’t be nearly as interesting in one that tells a story with outtakes and and details — just like real life.
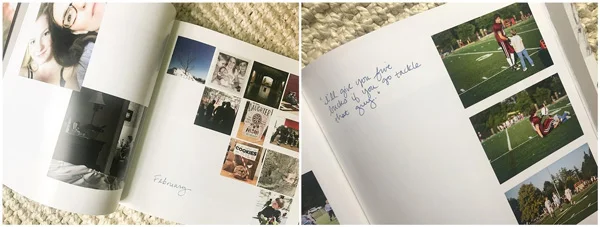
PHOTO BY JAYE MCLAUGHLIN
Remove roadblocks
If you find yourself slowing down your pace, ask yourself what is holding you back. Can you just leave that part out? For me, it used to be torture coming up with titles, captions and commentary that I thought should be part of my albums. I would start out strong, but after a while they would sound so CORNY. I cringed imagining myself reading those captions years down the road. I finally realized I was better off with no words in my album designs, and was able to get them printed much more quickly.
After the printed versions arrive, I page through with a Sharpie and add headings and notes, and the end result is much more natural. Figuring out and eliminating my roadblock enabled me to power through and get to the finished book.
Jaye's next two tips are so genius I had to share them with you:
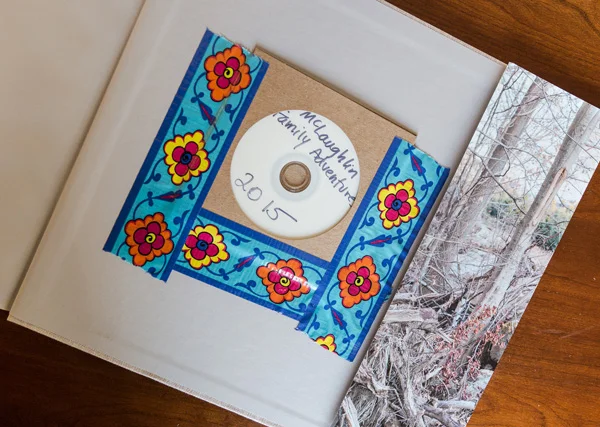
PHOTO BY JAYE MCLAUGHLIN
BONUS TIP 1
One day I noticed that my daughter was taking cameraphone photos of the printed pages of our photo scrapbooks in order to share them digitally, and I realized she had no good way to download the photo files in the book without giving her the power to access (and possibly accidentally destroy) all my digital photos. Plus how would she know where to even start looking? To fix this, I now burn a CD of the photos included in each book and tape it to the inside cover. Now anyone can access digital versions quickly and easily.
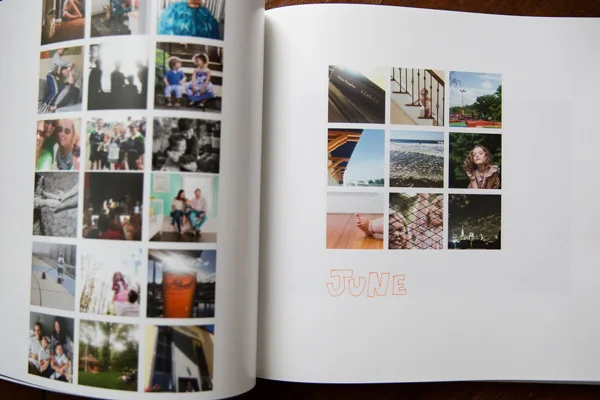
PHOTO BY JAYE MCLAUGHLIN
BONUS TIP 2
If your designed book is feeling a little…cold, with all those perfect shots and whitespace, try this trick: Sprinkle a few pages of tightly gridded, smaller Instagram-style shots. This adds a more spontaneous, personal, yearbook style that complements the larger, more formal layouts.
I hope that was helpful! Thanks again to Jaye McLaughlin for expert advice. Be sure to check out her blog for everything you need to know about family photography. That wraps up our series. I hope you have everything you need to go forth and conquer your photo To Do list.
As always, check our website for events and weekly library programs.
See you next time!
Andrea